
How to Create and Send Email Campaigns in Shopify for FREE?
- July 27, 2024
In this tutorial, I’ll show you the best and most convenient method of creating and sending email campaigns in Shopify for free. Yes, we will use a free application. But before jumping into the creation process, let me answer some quick questions readers often ask:
Can You Do Email Campaigns on Shopify?
Yes, you can do email campaigns, create automation, and send personalized emails to your customers on Shopify. These campaigns can be offers, giveaways, or notices. Shopify also provides a default automation process that alerts you about cart abandonment.
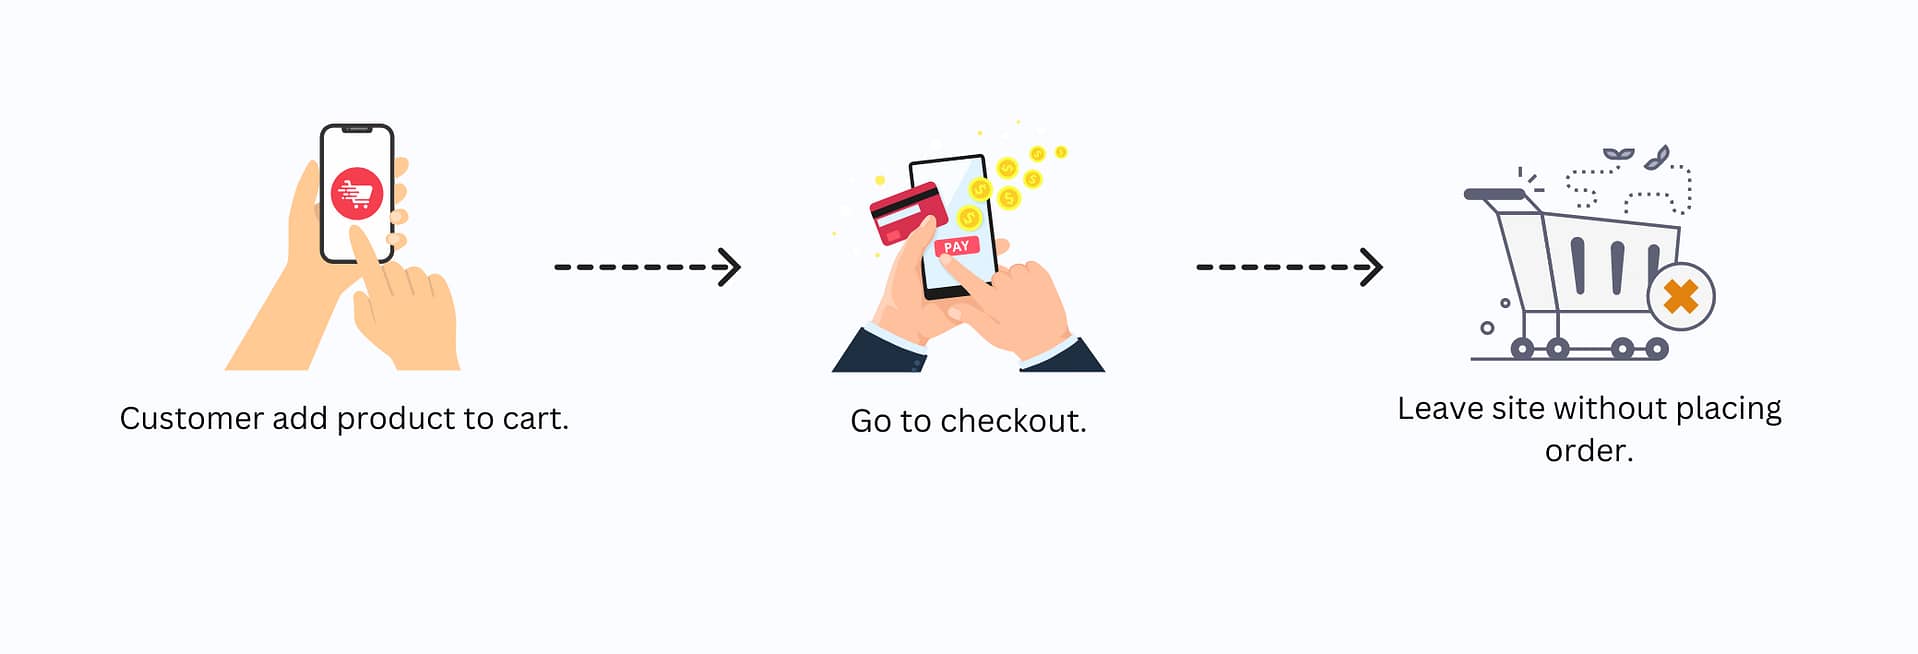
Not Sure What Cart Abandonment Is?
Cart abandonment refers to when customers add items to their cart and make it to the checkout page but leave without placing an order. Shopify Email notifies you every time cart abandonment happens.
Does Shopify Offer Free Email Marketing?
Yes, Shopify offers free email marketing, but additional charges may apply. Whatever app you choose for email marketing, you should check the pricing section for payment details. Do check the features offered by the app in the free plan.
Now, let’s begin with the Email Marketing Setup,
Step 1: Installing an Email Marketing App in Shopify
Setting up an email marketing campaigns in Shopify requires an application. In this tutorial, I’ll use Shopify Email by Shopify. Here’s how to install the Shopify Email application:
- Log in to your Shopify account.
- Go to Apps from the right navigation menu > click Apps and search for Shopify Email.
- Install the app and click the Open button. It will then open up on your Shopify panel.
Why Shopify Email?
Shopify Email is an application by Shopify itself. It gives you complete control over creating and sending marketing email campaigns in Shopify and allows you to send 10,000 emails monthly for free in the first initial months.
You can create email campaigns and automation, customize templates with drag and drop editor, and more with Shopify Email. It’s an all-in-one platform that allows you to create, send, and track campaigns within Shopify. It is free for the initial months, then charges $1 every month.
Step 2: Setting Up Shopify Email
It’s time to set up your Shopify email campaign and application.
- Verify the Sender’s Email:
- Go to Settings from the sub-menu of the Email tab.
- Click ‘Manage in Store Details Settings’ > Check and confirm the email you want to use as the sender’s email and click the ‘Resend Verification’ option. You will then receive a confirmation message from Shopify.
- Open Tracking: Leave the open tracking option as default or choose per your requirement.
- Set Your Template Branding:
- Click the Customize button > Choose logo > Add brand/store name.
- Set the colors for each element, including buttons and background.
- Create Your First Template:
- Go to Templates and create your first email template. You can choose from 54 pre-built email templates.
And that’s it. Your Shopify email campaign setup is complete.
Step 3: Creating Your First Email Campaigns in Shopify
Let’s jump into adding your first email campaign to Shopify for free.
Access the Email Application:
Back to the Email screen, you will find the default cart abandonment automation and two buttons in the upper right for creating automation and campaigns.
Create a Campaign:
- Click on Create Campaign > Choose Template > Select Template.
- Add the subject line & preview text.
Customize Your Template:
- Every block is editable. Click on any element and edit.
- Once done, click the ‘Send Test’ button next to the Save button in the upper right corner.
- Enter the email address where you want to send and click Send.
- All okay? Click Save and Review.
Creating Automations in Shopify
Follow the same steps to create automation. You can choose from various automation templates and customize them based on your requirements or create custom automation from scratch. Follow along the steps.
Note: Using pre-built automation templates requires relevant app installation. If you want to use an automation template, install its app and start with customization.
Adding Relevant Apps
If you’re looking to add relevant apps in Shopify:
- Go to the Shopify App Store.
- Search for the required app (e.g., for abandoned cart recovery).
- Install the app and follow the setup instructions.
So that’s all for this tutorial. Do share it with your friends or comment below. If you need help, I’m just a contact away!

Recent Posts
-
10 Easy Gemini AI Prompts to Generate Viral Boy Images
-
How to Humanize AI Content: Easy Steps That Actually Work
-
The Six Different Types of AI Agents You Need to Know: Easy Guide!
-
How to Write a Resignation Email Template? 10 Professional Samples
-
Is selling on Etsy Worth it? Revealing Truth About Profits & Risks
-
Elevate Pay Important Update: Move Out Your Funds Before It's Too Late!
Freelancing
-
Is selling on Etsy Worth it? Revealing Truth About Profits & Risks
-
Elevate Pay Important Update: Move Out Your Funds Before It's Too Late!
-
New Ways to Earn Money Online in Pakistan Without Investment
-
The Best Shopify Payment Gateway in Pakistan - Sell Globally Now!
-
Easypaisa Payment Gateway: All You Need to Know to Boost Sales
-
10 Only the Best Legit Side Hustles for Women Now
Shopify
-
How to Set Up a Shopify Store without a Template? All You Need to Know
-
How to Cancel Shopify Subscription? Easy Tutorial Now!
-
How to Add Another Admin to Shopify? Quick Tutorial!
-
How to add Store Locator on Shopify for FREE? Easy Tutorial!
-
How to Create and Send Email Campaigns in Shopify for FREE?
-
How to Create and Use Collections in Shopify? High Traffic!