
How to Add Store Locator on Shopify for FREE? Easy Tutorial!
- August 28, 2024
Are you running an online business with different physical store locations? Then, you might need to add a store locator page to your online store. This page would help your customers find the nearest store location easily.
In this tutorial, I’ll show you how to add a store locator page to your Shopify store for free. Let’s get started!
Add Store Locator on Shopify: Installing App
First, you’ll need to install a good store locator app. There are many apps available on the Shopify store app. We will use the S: Store Locator by Storeify in this tutorial. This app offers a free plan and many features to help you build a professional store locator page in minutes. Let’s start with the installation process:
Log in to your Shopify account, click on Apps from the right navigation menu, then select the App and Sales Channel Settings option from the sub-menu.
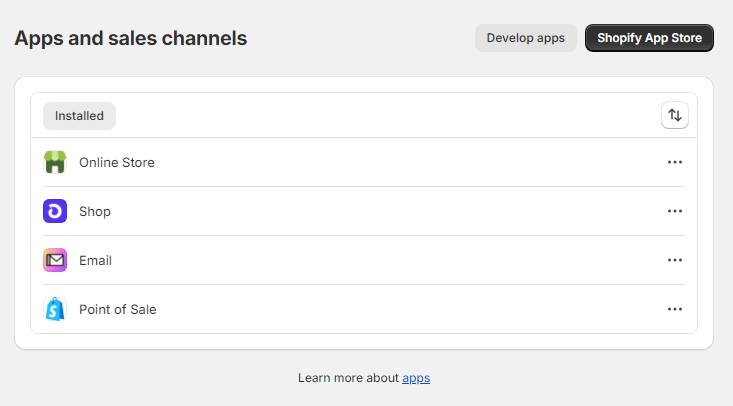
Now, click on the Shopify App Store button, and the Shopify App Store will open up in a new tab. Search for the S: Store Locator app, click, and install the app.

Once installed, you will see the app dashboard on your Shopify admin panel. Note: During installation, the app will ask for permission to access store data, but that is fine to allow. It uses the data to make the store locator experience more personalized for your customers.
Setting Up Store Locator on Shopify
You will see the tutorial video to set up this application on the main app screen. However, here are the quick steps I follow:
Step 1: Go to theme setup from the left sidebar, and select the theme you want to apply. It is better to choose the theme you’re using in your store.

Step 2: Go to Locations on the right sidebar and add locations. Customize the look of your store locator from the settings.

Step 3: Click the “Go to Theme Editor” then click the “App Embeds” option, and the Customize store screen will pop up. Click the Save button in the upper right corner, and that’s it. Your app setup is complete.
Add Store Locator Page on Shopify
There are three ways you can add a store locator to the Shopify page:
- By using a short code
- By using the store locator widget
- By editing the theme code
I’ll show you the first two steps for quick addition. If you need a tutorial on the third one, let me know in the comment section below or by contacting me. Now, let’s see the quick ways.
1- By using a Short Code
You will see the shortcode on the main app screen. Copy this code and go to Online Store > Themes > Click Customize button. Click the page name from the above menubar and select the page where you want to add the store locator.
For example, I choose the contact page, and from the right-side navigation, click on the add section > write custom in the search bar> select the custom liquid option, as shown in the image below:

Paste the code and click save in the upper right corner. Preview page and done. You’ll see the store appearing on the page.
2- By using a widget
In this method, we’ll add a custom store locator page. Before creating a new page, we’ll add a new default page template. Once you add a custom template, follow these quick steps:
Step 1: Click on the add section from the ride-side menu and this time click on the Apps category from the dialogue box.

Now, click on the Add Store Locator option, and that’s it. Your store locator will now appear on the page. Save the changes, and add the page to your Shopify main navigation.
That’s all for this tutorial, I hope you like it. If you need any help or are stuck somewhere, I’m just a contact, away!

Recent Posts
-
10 Easy Gemini AI Prompts to Generate Viral Boy Images
-
How to Humanize AI Content: Easy Steps That Actually Work
-
The Six Different Types of AI Agents You Need to Know: Easy Guide!
-
How to Write a Resignation Email Template? 10 Professional Samples
-
Is selling on Etsy Worth it? Revealing Truth About Profits & Risks
-
Elevate Pay Important Update: Move Out Your Funds Before It's Too Late!
Freelancing
-
Is selling on Etsy Worth it? Revealing Truth About Profits & Risks
-
Elevate Pay Important Update: Move Out Your Funds Before It's Too Late!
-
New Ways to Earn Money Online in Pakistan Without Investment
-
The Best Shopify Payment Gateway in Pakistan - Sell Globally Now!
-
Easypaisa Payment Gateway: All You Need to Know to Boost Sales
-
10 Only the Best Legit Side Hustles for Women Now
Shopify
-
How to Set Up a Shopify Store without a Template? All You Need to Know
-
How to Cancel Shopify Subscription? Easy Tutorial Now!
-
How to Add Another Admin to Shopify? Quick Tutorial!
-
How to add Store Locator on Shopify for FREE? Easy Tutorial!
-
How to Create and Send Email Campaigns in Shopify for FREE?
-
How to Create and Use Collections in Shopify? High Traffic!