How to Change Return to Shop Link in WooCommerce? Easy Way Now
- February 12, 2024
The “Return to Shop” link is an important link that guides customers throughout the shopping journey on Woocommerce stores. This button appears when customers add an item to the cart or complete the checkout process. Using this link, they navigate back to the main shop page and continue browsing.
Store owners can easily edit this button according to their needs. This article will provide actionable steps on how to change Return to Shop link in Woocommerce to enhance site navigation and user flow.
Whether you want to direct customers to a specific page, change text, or remove the button entirely, we will cover the steps to configure this crucial element.
How to Change Return to Shop Link in WooCommerce?
Here’s a list of all the topics discussed in this post. Feel free to click on any of them to jump directly to the section you’re most interested in.
Method 1: Using WooCommerce Filter
The most straightforward way to change the “Return to Shop” link is by adding a snippet of code to your theme’s functions.php file. For this, you need to go to Appearance -> Theme File Editor -> Functions.php. This method is recommended by WooCommerece itself as it includes a filter named woocommerce_return_to_shop_redirect that is designed to help you change the return to shop link.
In the functions.php file, paste the following code snippet.
					add_filter( 'woocommerce_return_to_shop_redirect', 'custom_return_to_shop_redirect' );
function custom_return_to_shop_redirect() {
    return 'https://savycoder.com/'; // Redirects to the home page.
}
Replace ‘https://savycoder.com/’ with any URL of your choice – where you want to redirect your users when they click on the ‘Return to Shop’ button.
Method 2: Editing through a Child Theme
If you’re using a child theme (which is recommended for any customizations to avoid losing changes when updating your theme), you can override the WooCommerce template file that contains the “Return to Shop” button by following these steps:
- Copy the cart-empty.php file found in wp-content/plugins/woocommerce/templates/cart/ to your child theme in the same directory structure: your-child-theme/woocommerce/cart/cart-empty.php.
- Open the copied cart-empty.php file in your child theme and locate the following line:
<a class="button wc-backward" href="<?php echo esc_url( wc_get_page_permalink( 'shop' ) ); ?>">
Then simply replace the wc_get_page_permalink( ‘shop’ ) with the desired URL. For instance, In the below line of code, I have replaced wc_get_page_permalink( ‘shop’ ) with home_url(), which means that it will now redirect shoppers to the home page. You can replace home_url() with your link.
<a class="button wc-backward" href="<?php echo esc_url( home_url() ); ?>"> // It will now redirect to the home page.
This method allows you to directly modify the hyperlink in the template file, offering a straightforward solution for theme developers or those comfortable with child themes.
Note: The above method is only recommended for advanced users knowing both WordPress and Core PHP. If you’re a beginner then you can try other steps for easy implementation.
How to Change Return to Shop Link Using a Plugin?
Now if you’re a beginner or someone who prefers not to deal with code, then this method is for you. You can change the ‘Return to Shop’ link easily with the help of the StoreCustomizer plugin. Here’s how to do it: First, go to Plugins -> Add New -> Search StoreCustomizor -> Install & Activate the plugin.
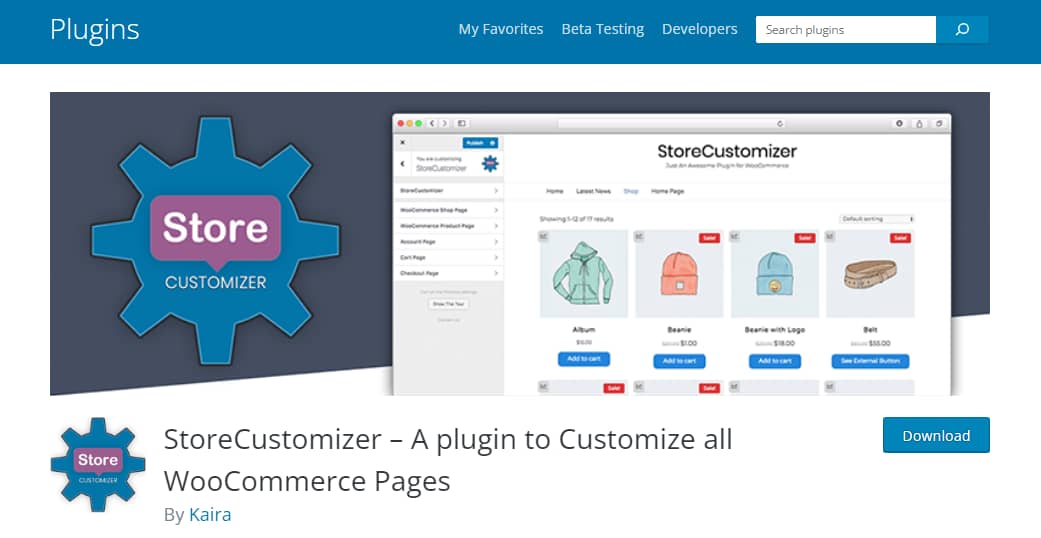
After activation, go to WooCommerce -> StoreCustomizer and follow the on-screen steps: Click Allow & Continue. You will now see the following main screen of the StoreCustomizer plugin.
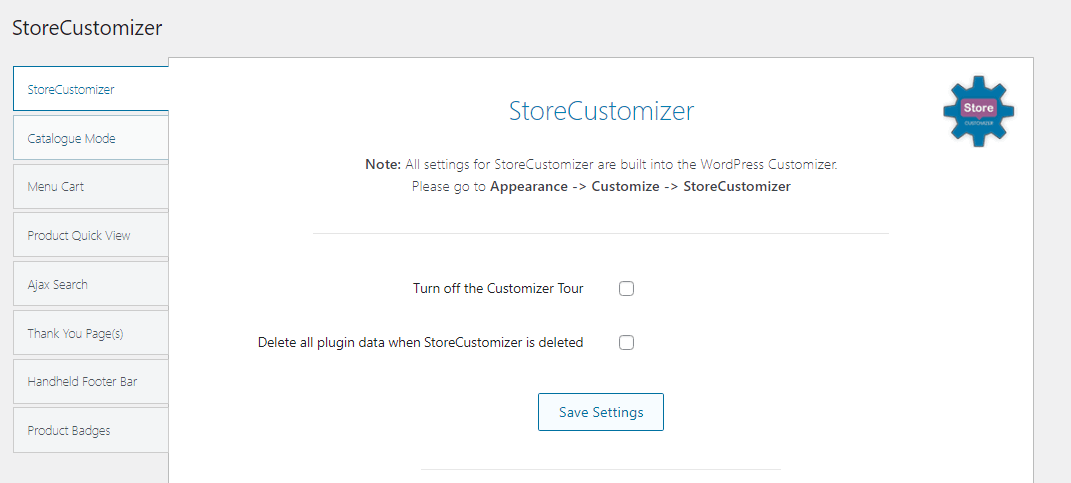
On this screen, scroll down to the bottom of the page and you will find the Customize your Settings button, as shown in the below image:

Click on this button and it will take you to the theme’s default customize settings. Here, navigate directly to the StoreCustomizer tab and then the Cart Page tab. Scroll down on the sidebar till you see the option Edit ‘Return to Shop’ button.
Check this button and boom, you will see the options: 1- Change the text of the Return to Shop button. 2- Select the page this button links to.
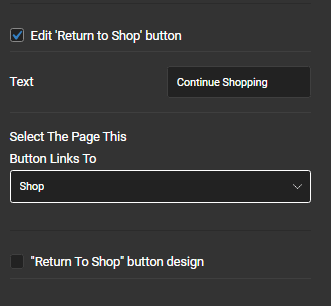
Simply change the text of the button or select the page name in option 2, where you want to redirect shoppers when they click on this button.
Now close the editing tab and go to the front of the store, add an item to the cart and you will see both text and link are changed. This is the easiest method for changing the link or text of the Return to Shop button.
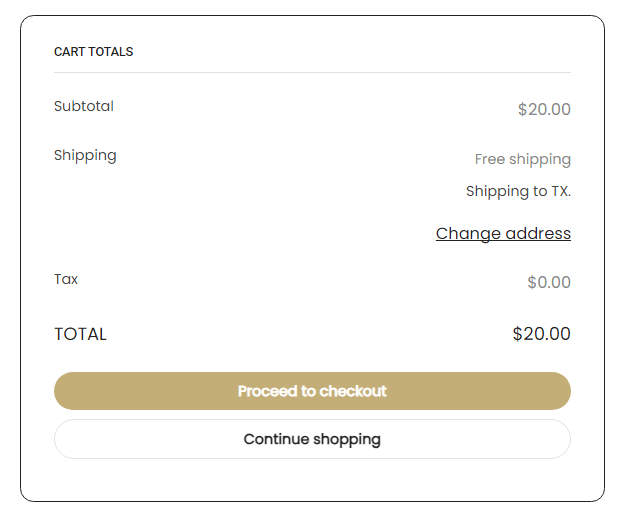
The button on the cart page is now displaying the ‘Continue Shopping’ text and redirecting to the shop page because I want to keep it to shop. You can set any page or product on this button.
So, that’s all for this blog. All the methods explained in this blog are personally tested and approved by experts. I hope you will find these helpful. If you are stuck anywhere then SavyCoder is just a text away to help. Approach via contact us.
If you like this article then please subscribe to the newsletter below.
Stay Ahead with AI & Productivity Insights
Get the latest tools and tips in AI and productivity delivered straight to your inbox.
Recent Posts
-
How to Humanize AI Content: Easy Steps That Actually Work
-
The Six Different Types of AI Agents You Need to Know: Easy Guide!
-
How to Write a Resignation Email Template? 10 Professional Samples
-
Is selling on Etsy Worth it? Revealing Truth About Profits & Risks
-
Elevate Pay Important Update: Move Out Your Funds Before It's Too Late!
-
New Ways to Earn Money Online in Pakistan Without Investment
Freelancing
-
Is selling on Etsy Worth it? Revealing Truth About Profits & Risks
-
Elevate Pay Important Update: Move Out Your Funds Before It's Too Late!
-
New Ways to Earn Money Online in Pakistan Without Investment
-
The Best Shopify Payment Gateway in Pakistan - Sell Globally Now!
-
Easypaisa Payment Gateway: All You Need to Know to Boost Sales
-
10 Only the Best Legit Side Hustles for Women Now
Shopify
-
How to Set Up a Shopify Store without a Template? All You Need to Know
-
How to Cancel Shopify Subscription? Easy Tutorial Now!
-
How to Add Another Admin to Shopify? Quick Tutorial!
-
How to add Store Locator on Shopify for FREE? Easy Tutorial!
-
How to Create and Send Email Campaigns in Shopify for FREE?
-
How to Create and Use Collections in Shopify? High Traffic!

